Chevrolet Captiva Service & Repair Manual: Parking Brake Motor R&I
Actuator
| 1. |
Raise and support the vehicle. |
| 2. |
Remove the tire and wheel. |
| 3. |
Remove the park brake shoes. |
| 4. |
Disconnect the park brake cable eye
from the actuator lever, Fig. 1. |
| 5. |
Remove parking brake actuator, Fig.
1. |
| 6. |
Reverse procedure to install. Adjust
parking brake. |
|
Control Module
Removal
| 1. |
Disable the parking brake cable adjuster. |
| 2. |
Turn the ignition to the OFF position. |
| 3. |
Raise and support the vehicle. |
| 4. |
Disconnect the parking brake intermediate
cable nut (1) from the electronic parking brake control module spindle
by rotating the nut counterclockwise, Fig. 2. |
| 5. |
Disconnect the parking brake intermediate
cable and position the cable aside. |
| 6. |
Remove the electronic parking brake
control module front cover (1), Fig. 3. |
| 7. |
Disconnect the electronic parking brake
control module electrical connector. |
| 8. |
Remove the electronic parking brake
control module bracket bolts (1), Fig. 4. |
| 9. |
Remove the electronic parking brake
control module and bracket assembly (1), Fig. 5. |
| 10. |
If necessary, remove the electronic
parking brake control module bolts (1), Fig. 6. |
| 11. |
Remove the electronic parking brake
control module bracket (1), Fig. 7. |
| 12. |
Inspect the electronic parking brake
control module bracket sleeves and insulators. Replace any damaged
or missing sleeves or insulators. |
| 13. |
Remove the electronic parking brake
control module (1) from the rear cover, Fig. 8. |
|
Installation
| Ensure the park brake intermediate
cable fitting is engaged in the actuator in the spindle. |
| When installing the parking brake
intermediate cable nut to the electronic park brake module spindle, hold
the spindle housing securely to avoid distorting the housing. |
| 1. |
Install the electronic parking brake
control module to the rear cover. |
| 2. |
Install the electronic parking brake
control module bracket to the electronic parking brake control module,
if removed. |
| 3. |
Install the electronic parking brake
control module bolts and torque the bolts to 80 inch lbs. |
| 4. |
Install the electronic parking brake
control module and bracket assembly. |
| 5. |
Install the electronic parking brake
control module bracket bolts and torque the bolts to 89 inch
lbs. |
| 6. |
Connect the electronic parking brake
control module electrical connector. |
| 7. |
Install the electronic parking brake
control module front cover. |
| 8. |
Inspect the O-ring seals on the electronic
parking brake control module spindle and the parking brake intermediate
cable for damage and correct positioning and replace, if necessary. |
| 9. |
Install the parking brake intermediate
cable fitting to the spindle. |
| 10. |
Connect the parking brake intermediate
cable nut to the electronic parking brake control module spindle
by rotating the nut clockwise and torque to 53 inch lbs. |
| 11. |
Program the electronic parking brake
control module. |
| 12. |
Enable the parking brake cable adjuster. |
|
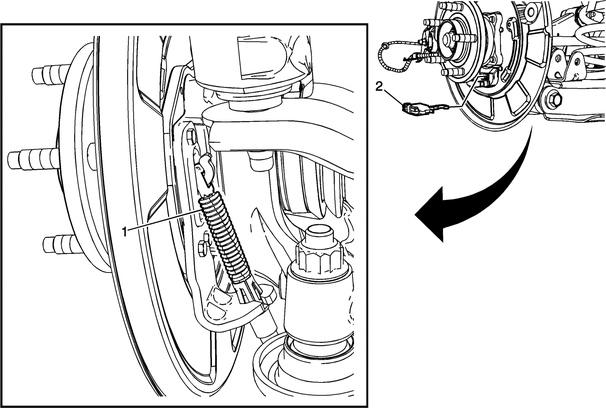
Fig.
1
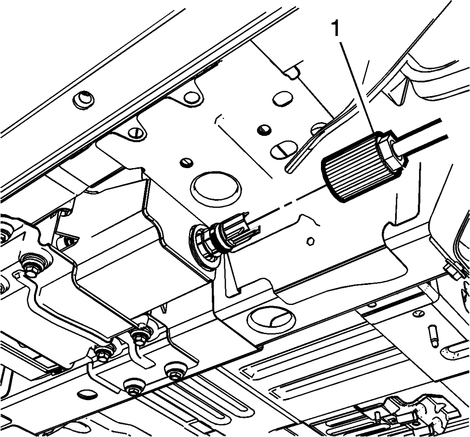
Fig.
2
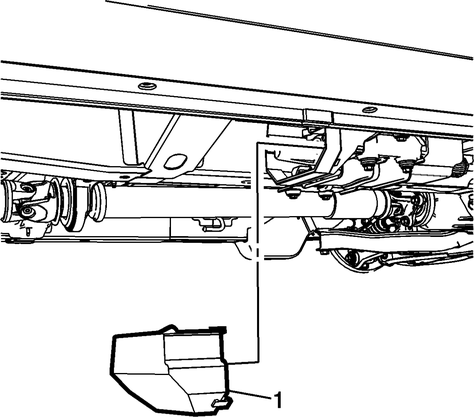
Fig.
3
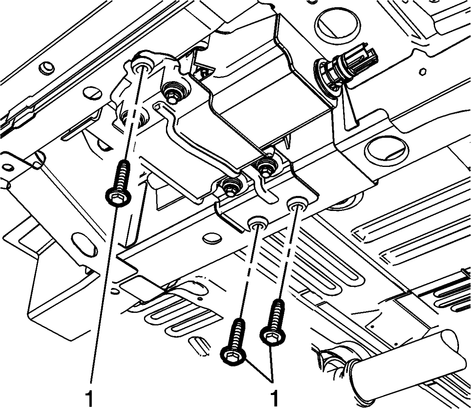
Fig.
4
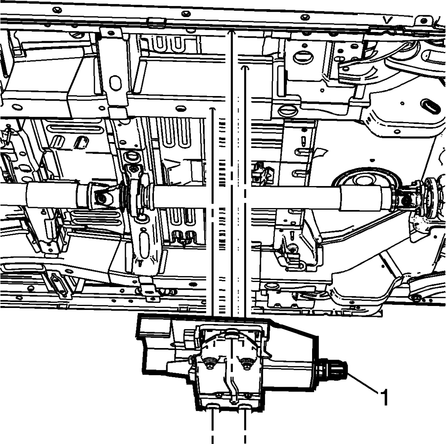
Fig.
5
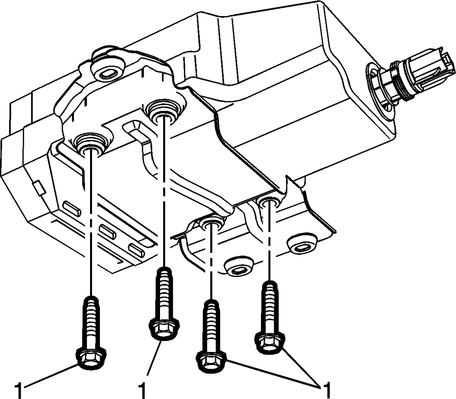
Fig.
6
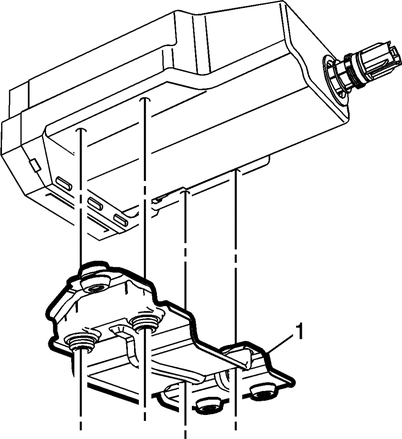
Fig.
7
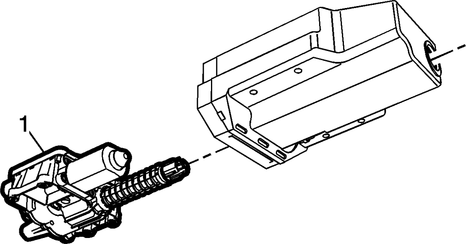
Fig.
8
Parking brake motor in a Chevrolet Captiva model year (from 2006 to 2018) is a crucial component responsible for engaging and disengaging the parking brake system. When it comes to removal and installation, several steps are typically involved. First, the vehicle needs to be safely raised and supported, and the rear wheels should be removed to access the parking brake assembly. The motor is usually located near the rear brake calipers, and it's often secured with bolts or fasteners.
To remove the parking brake motor, technicians typically disconnect the electrical connectors and any mounting brackets or hardware holding the motor in place. Care must be taken to avoid damaging any surrounding components during this process. Once the motor is detached, it can be replaced with a new or refurbished unit as needed.
Installation involves reversing the removal steps, ensuring all connections are secure and the motor is properly aligned. It's important to test the parking brake system after installation to verify its functionality. Following the manufacturer's service manual or guidelines is crucial to ensure the job is done correctly and safely.
Front
Removal
1.
Disable the parking brake cable adjuster.
2.
Turn the ignition to the OFF position.
3.
Raise an ...
Warning: Avoid taking the following
actions when you service wheel brake parts: Do not grind brake linings,
do not sand brake linings and do not clean wheel brake parts with a dry
b ...


 Parking Brake Cable R&R
 Parking Brake Shoes R&I