Chevrolet Captiva Service & Repair Manual: Coolant Drain, Flush & Refill
| Warning: In order to avoid personal injury, do not remove the cap or open the cooling system drains from a hot system. Allow the system to cool first. |
| Caution: All entrapped air must be purged from the powertrain cooling system before the final coolant level can be determined. Proper coolant level is critical to avoid engine damage. |
| The vehicle must be level when filling the cooling system. |
| 1. |
Place coolant container under radiator drain cock located at bottom of righthand radiator end tank. |
| 2. |
Open drain cock and drain coolant. A small amount of coolant will drain from system. |
| 3. |
Remove surge tank cap from surge tank and coolant will drain from system. |
| 4. |
For LAF vehicles, if engine block needs to be drained, a drain bolt is located near bottom of water pump assembly. |
| 6. |
Flush cooling system with clean, drinkable water. |
| 7. |
Slowly add a mixture of 50/50 DEX-COOL antifreeze and clean water to coolant surge tank. |
| 8. |
Start engine and inspect for leaks. |
| 9. |
Run engine and cycle vehicle from idle to 3,000 RPM in 30 second intervals until engine cooling fan comes ON, engine cooling fan turns ON at approximately 216°F. Repeat this process twice before engine is turned OFF. |
| 10. |
Return engine to idle, and idle for 30 seconds, then turn engine OFF. |
| 11. |
Allow vehicle to cool, before adding additional coolant. |
| 12. |
Add additional coolant to surge tank until level is approximately 1/2 above surge tank seam. |
| 13. |
Install coolant surge tank cap. |
|
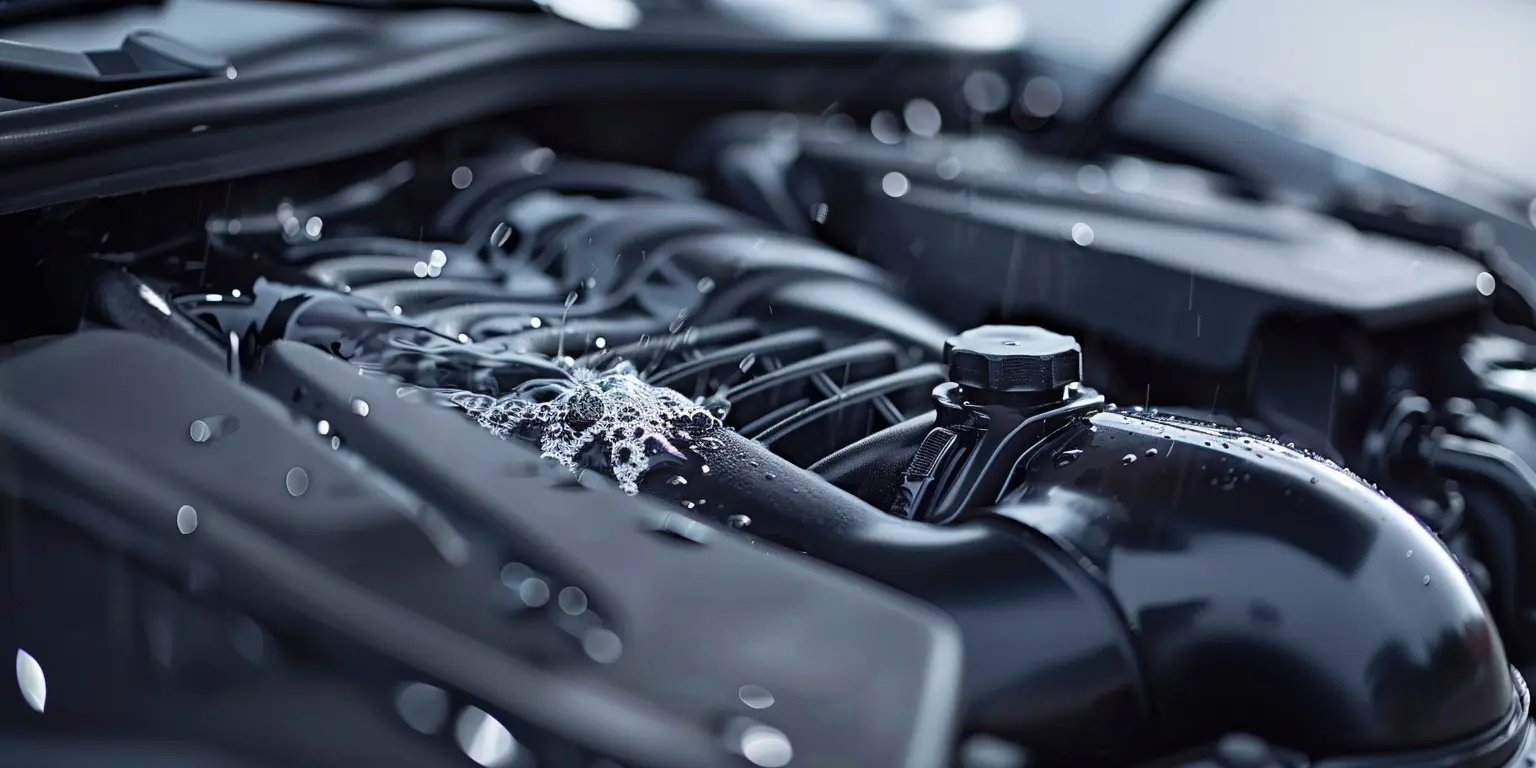
Performing a coolant drain, flush, and refill on your Chevrolet Captiva manufactured from 2006 to 2018 is essential for maintaining optimal engine performance and preventing overheating issues. To begin, ensure the engine is cool and park on a level surface. Locate the radiator drain plug underneath the radiator and position a drain pan beneath it. Slowly loosen the plug to allow the coolant to drain completely. Next, refill the radiator with a mixture of coolant and distilled water, following the manufacturer's recommended ratio. Start the engine and let it run with the radiator cap off to circulate the coolant. Bleed any air bubbles, top up the coolant reservoir, and check for leaks before securing the radiator cap.
1.
Remove front fascia.
2.
Remove push-in retainer that secures
ambient air temperature sensor to impact bar, Fig. 1.
...
A visual inspection must always
be performed to confirm the presence of aftermarket components, potential
collision damage, or areas of concern.
Always clean all external c ...
 Ambient Air Temperature Sensor R&R
 Cooling System Leak, Inspection