Chevrolet Captiva Service & Repair Manual: Brake Hydraulic Line R&I
Chevrolet Captiva Service & Repair Manual / Brakes / Brake Hydraulic Line R&I
Front
Removal
|
Installation
|
Rear
Removal
|
Installation
|
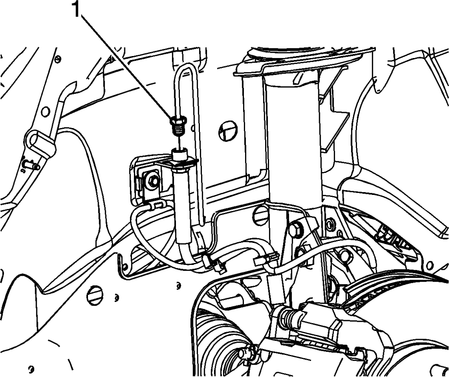
Fig. 1
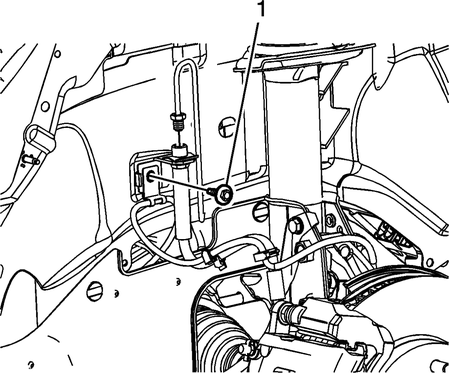
Fig. 2
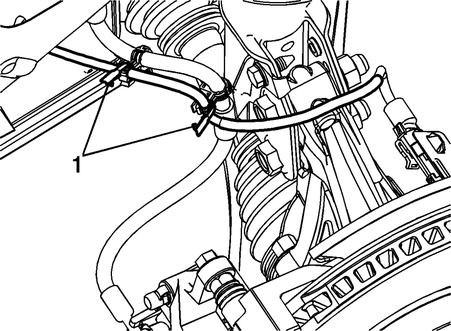
Fig. 3
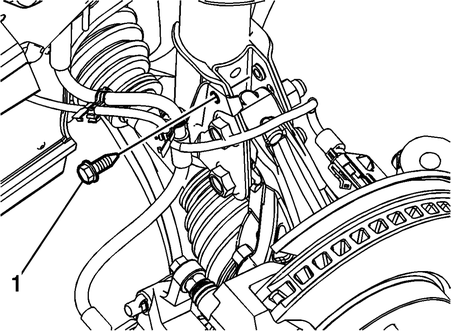
Fig. 4
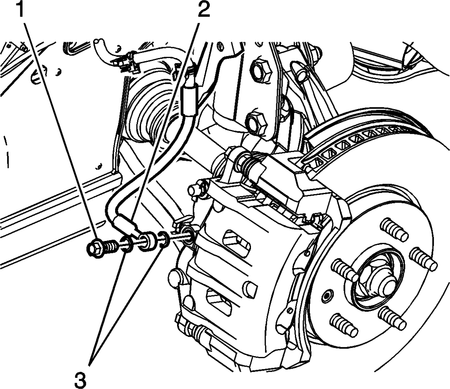
Fig. 5
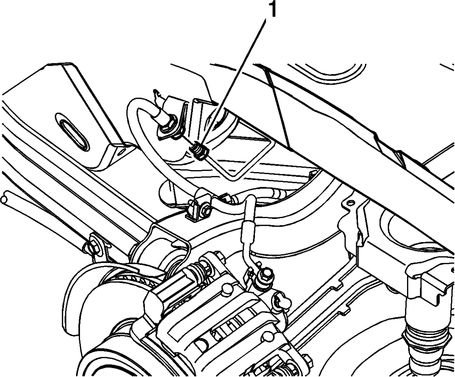
Fig. 6
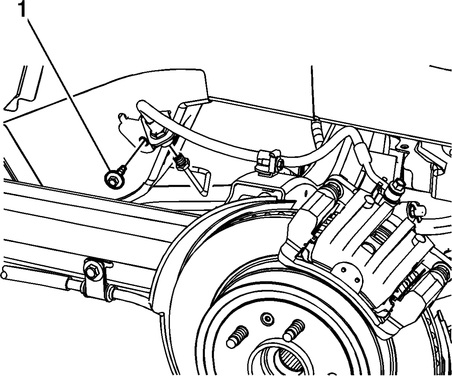
Fig. 7
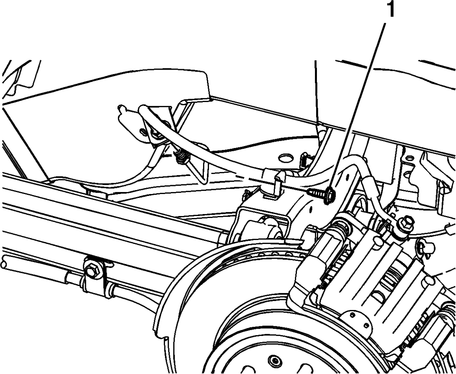
Fig. 8
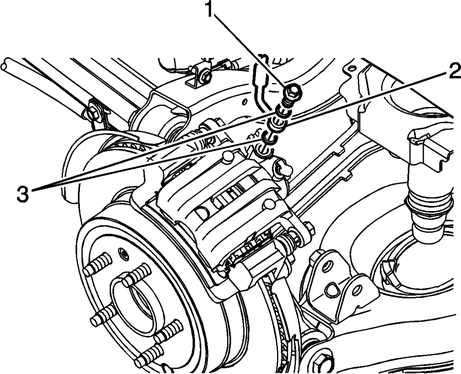
Fig. 9
 Brake Fluid Level Warning Indicator Switch R&R
Ensure the retaining tabs on the
brake fluid level indicator switch are fully engaged in the master cylinder
reservoir.
1.
Remove the underhood electri ...
 Brake Hydraulic System Bleed
Automated
Warning: Brake fluid may irritate eyes and skin. In case of contact, take the following actions: Eye contact--rinse thoroughly with water. Skin contact ...
More about:
Chevrolet Captiva Owners Manual > Vehicle Care: Towing the Vehicle
Caution
Incorrectly towing a disabled
vehicle may cause damage. The
damage would not be covered by
the vehicle warranty. Do not lash
or hook to the chassis
components — including the front
and rear subframes, suspension
control arms, and links — during
towing and recovery of a disabled
...
Chevrolet Captiva Owners Manual
- Introduction
- In Brief
- Keys, Doors, and Windows
- Seats and Restraints
- Storage
- Instruments and Controls
- Lighting
- Infotainment System
- Climate Controls
- Driving and Operating
- Vehicle Care
- Service and Maintenance
- Technical Data
- OnStar
Chevrolet Captiva Service & Repair Manual

© 2026 Copyright www.ccaptiva.com - 0.0075